

Which providers and credentials you need depends on your platform: Android / Web / React Native (Android) use FCM; iOS / React Native (iOS) / Flutter (iOS) use APNs (plus APNs VoIP for calls).
CometChat dashboard setup
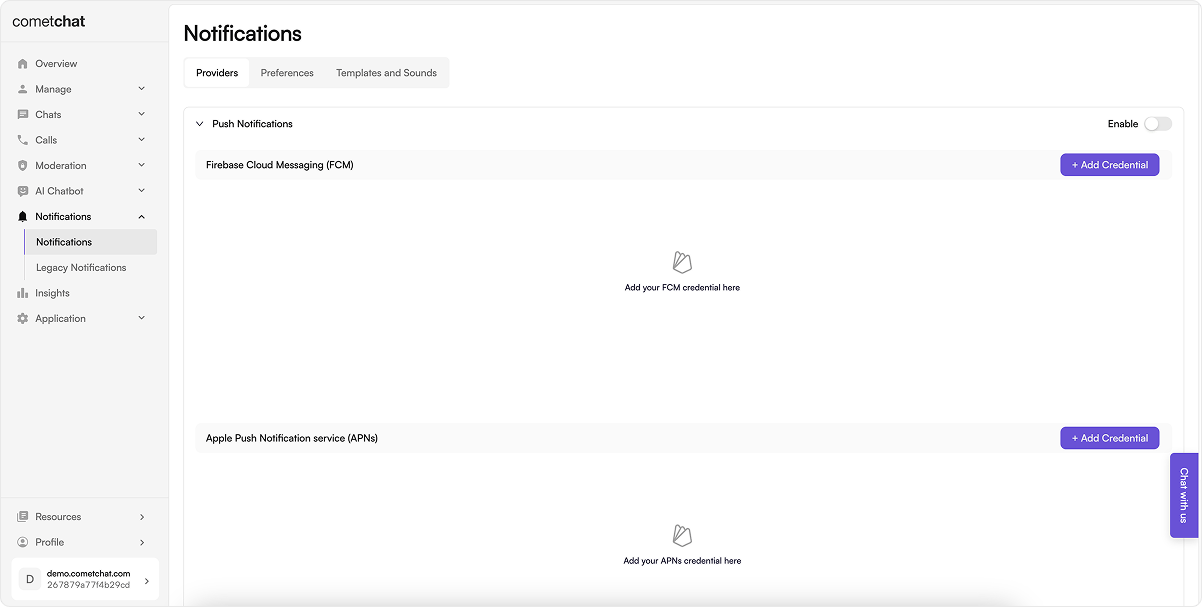
- Go to Notifications → Settings and enable Push Notifications.
-
Click Add Credentials and add the provider(s) your platform needs:
- FCM (Android, Web, React Native Android, Flutter Android): upload the Firebase service account JSON (Firebase → Project settings → Service accounts → Generate new private key).
- APNs Device (iOS alerts): upload your
.p8Auth Key with its Key ID, Team ID, and Bundle ID. - APNs VoIP (iOS calls): add a second provider with the same
.p8(recommended for CallKit reliability).
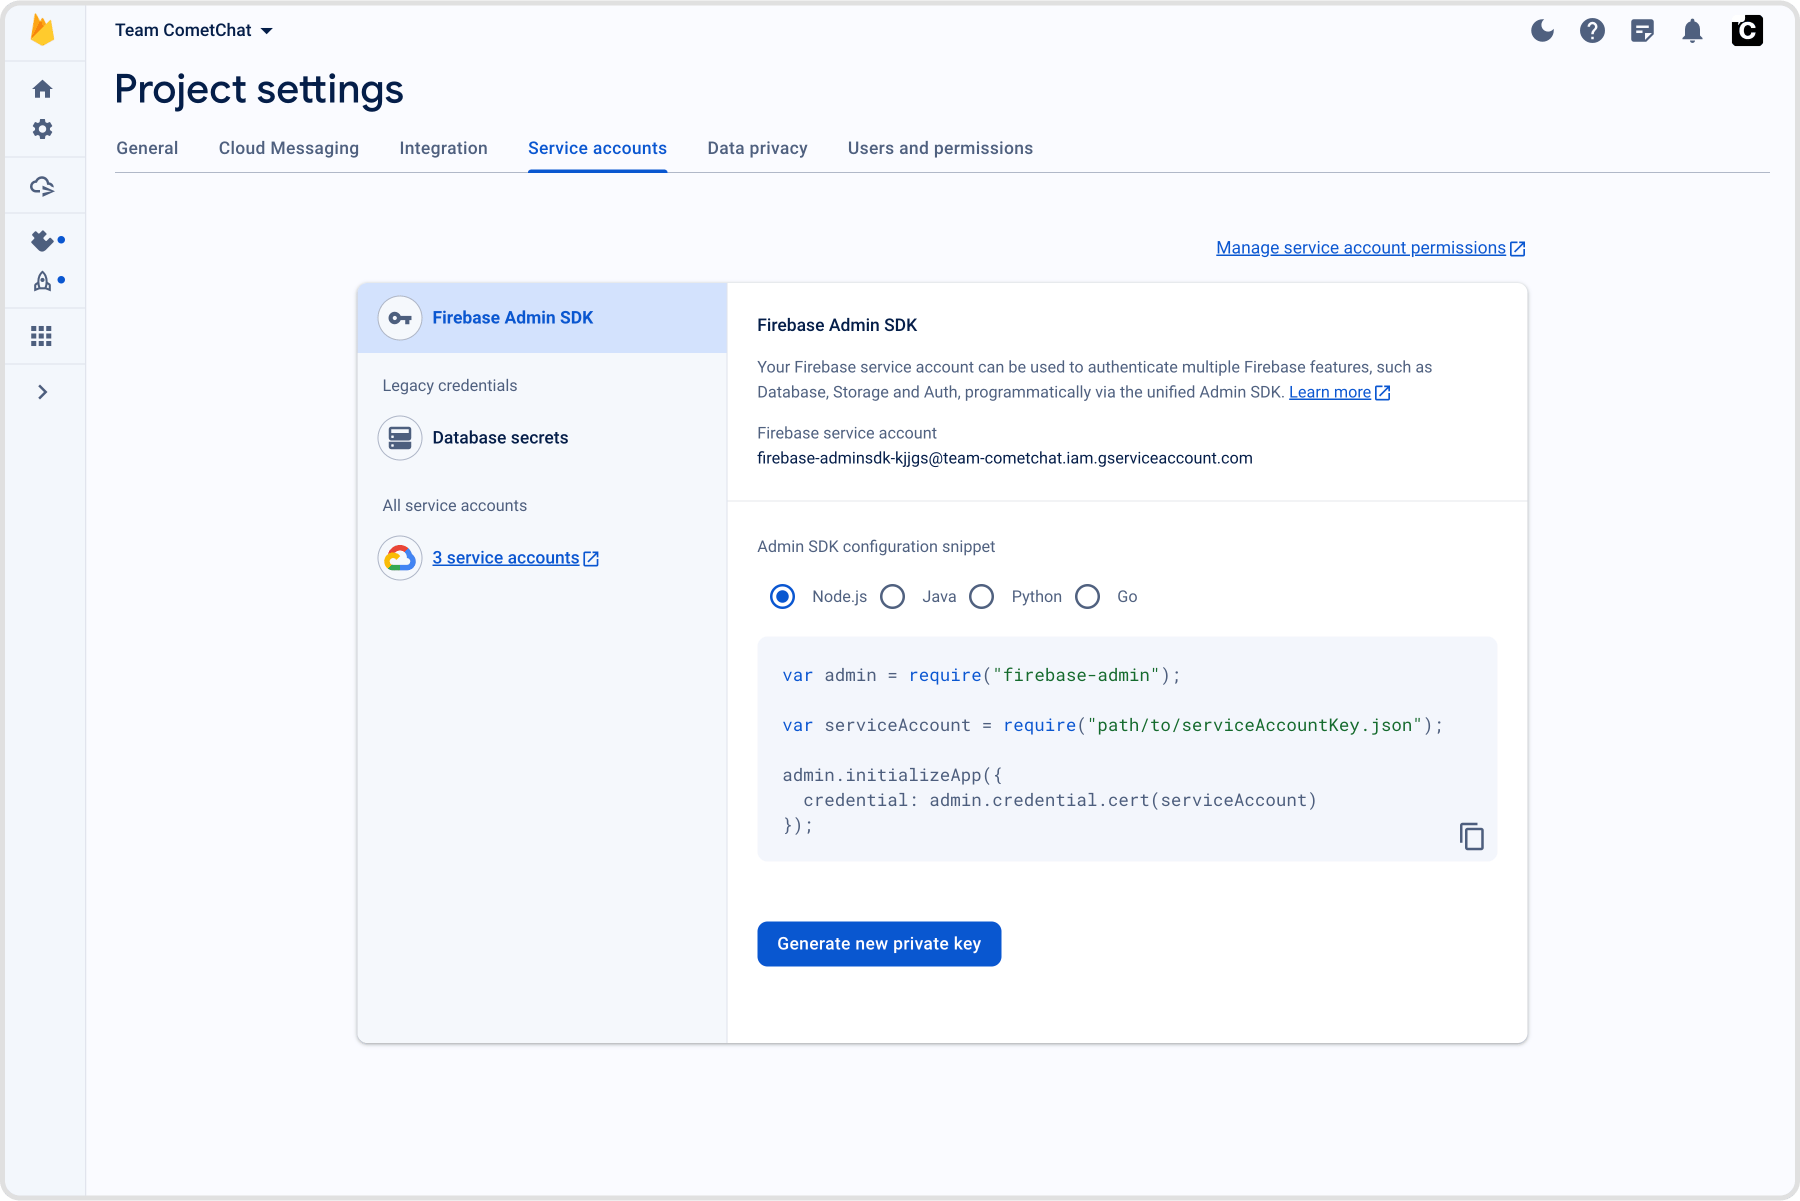
- Copy each Provider ID and keep your App ID, Region, and Auth Key handy — you’ll add these to your app’s constants when registering tokens.
Firebase configuration
Required for FCM (Android, Web, React Native Android, Flutter Android).- In the Firebase Console, create or select a project and enable Cloud Messaging.
- Register the app for your platform and download its config file:
- Android
- Web
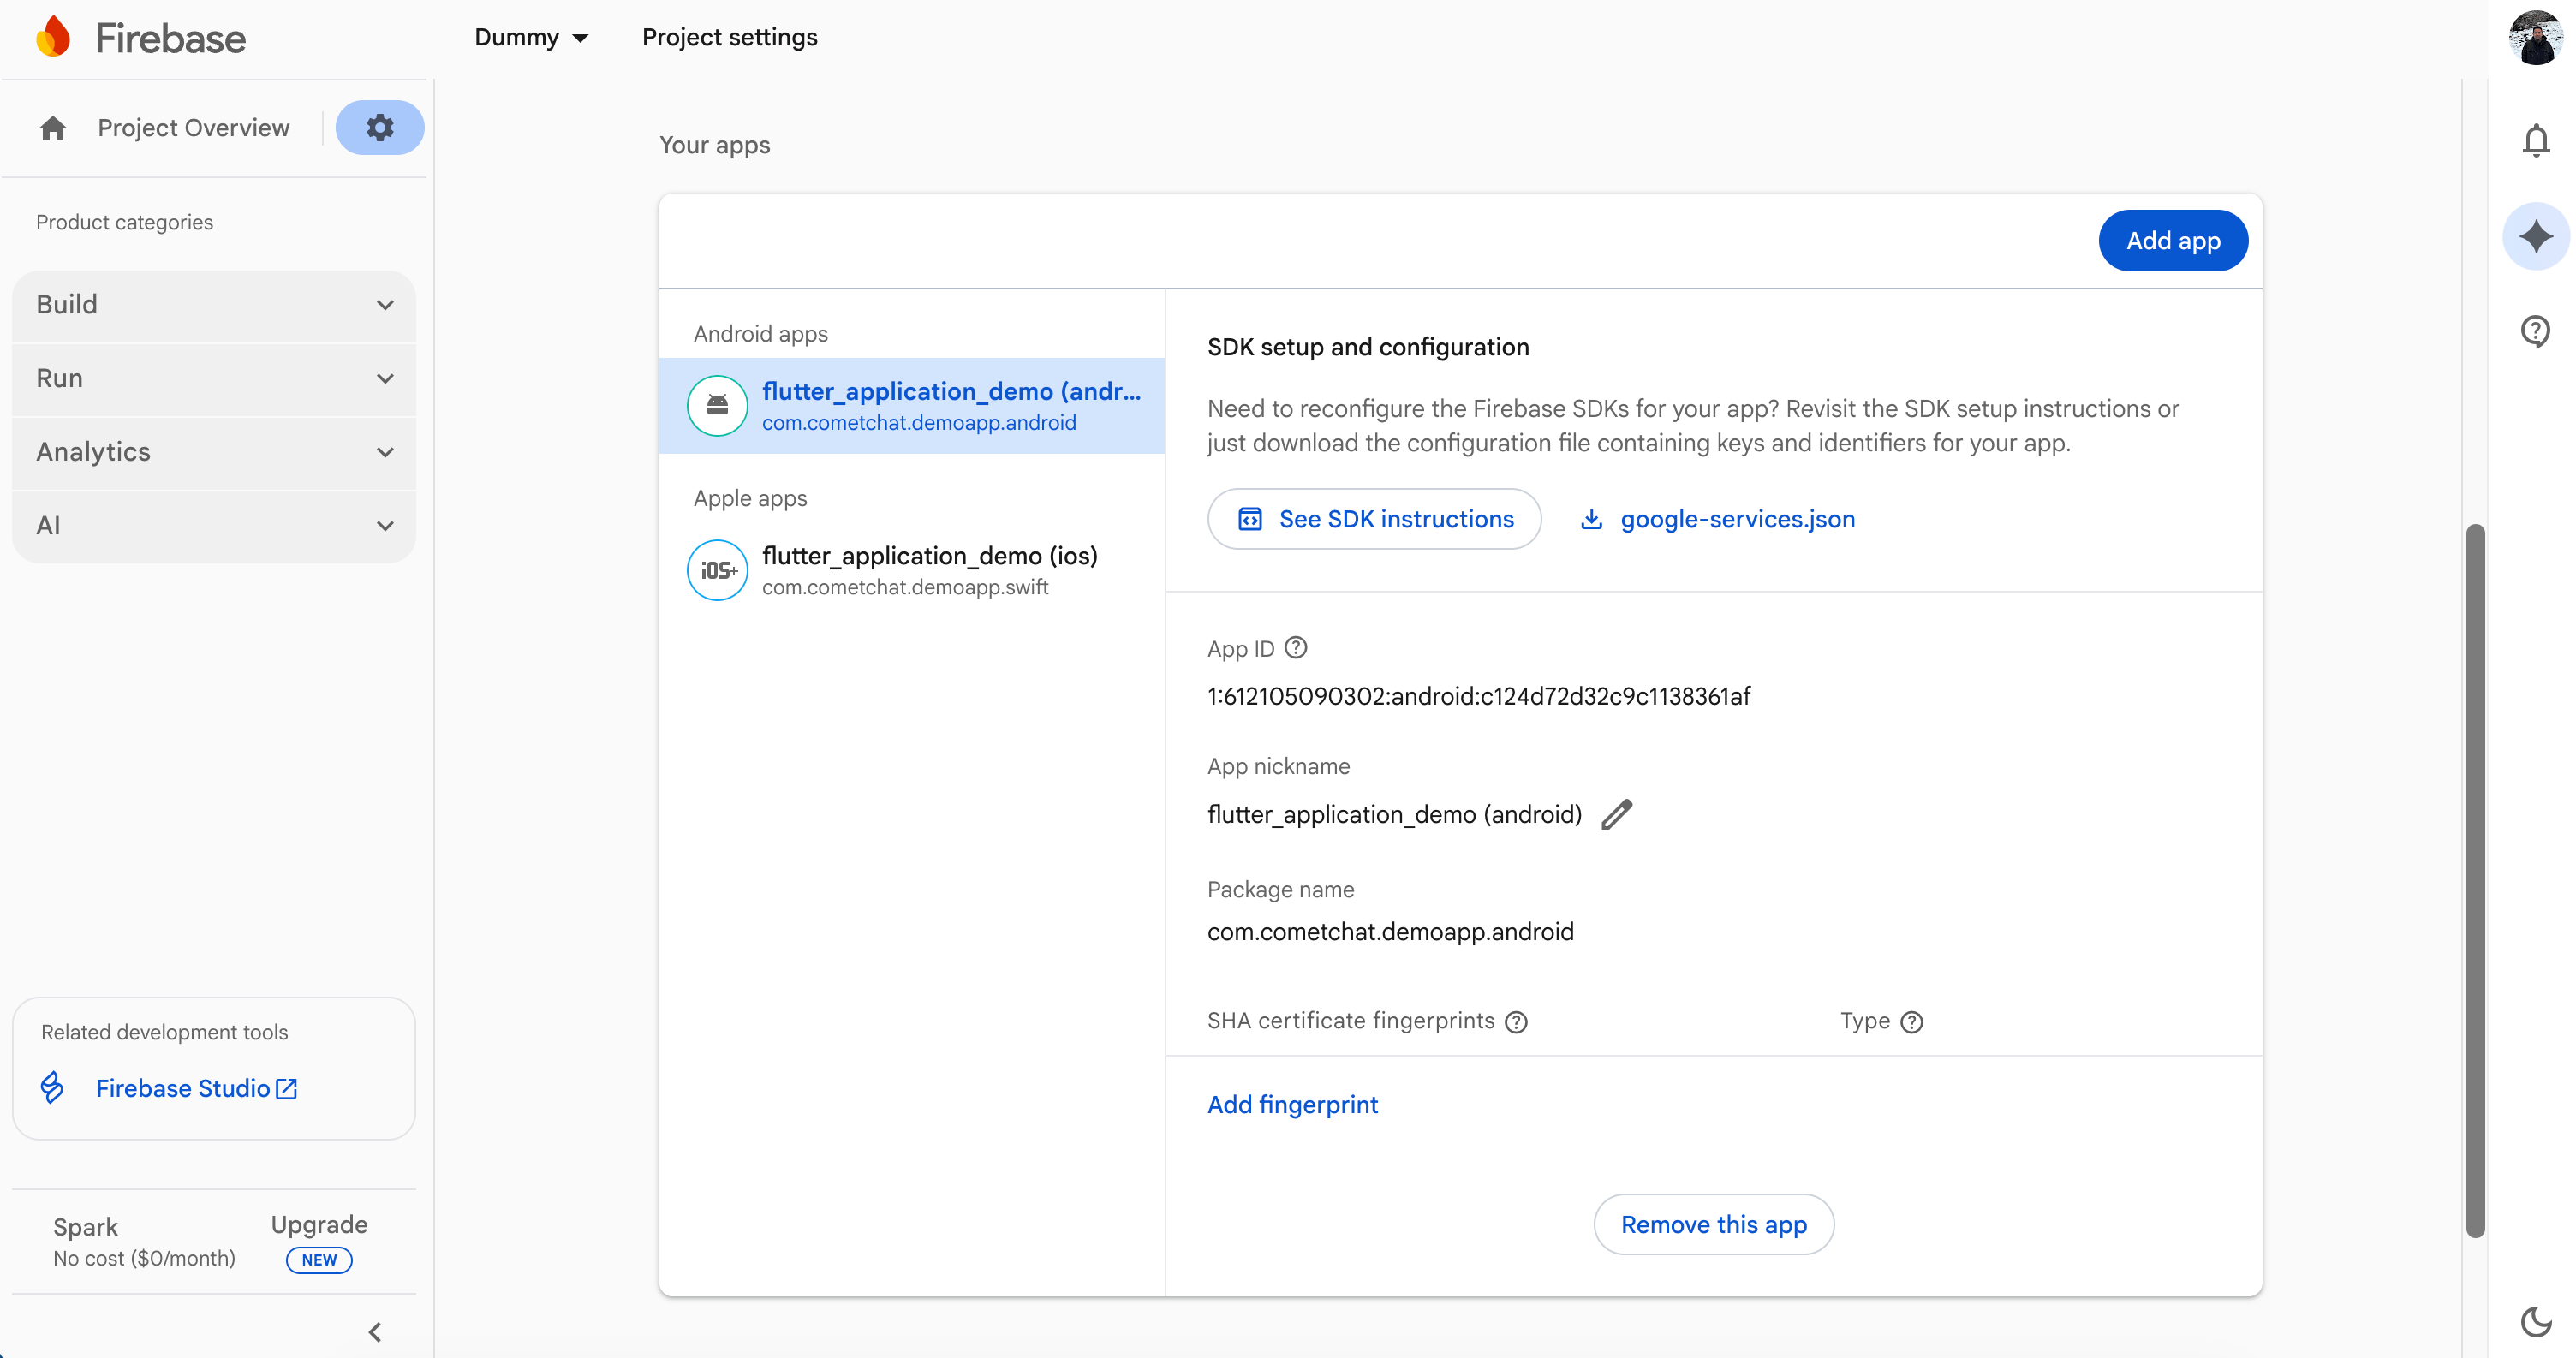
Register your Android package name (the same as
applicationId in android/app/build.gradle) and download google-services.json into android/app/.- For the CometChat FCM provider, generate a service account JSON under Project settings → Service accounts → Generate new private key and upload it in the dashboard step above.
iOS (Apple) setup
Required for any iOS target (native iOS, React Native iOS, Flutter iOS).- APNs Auth Key (
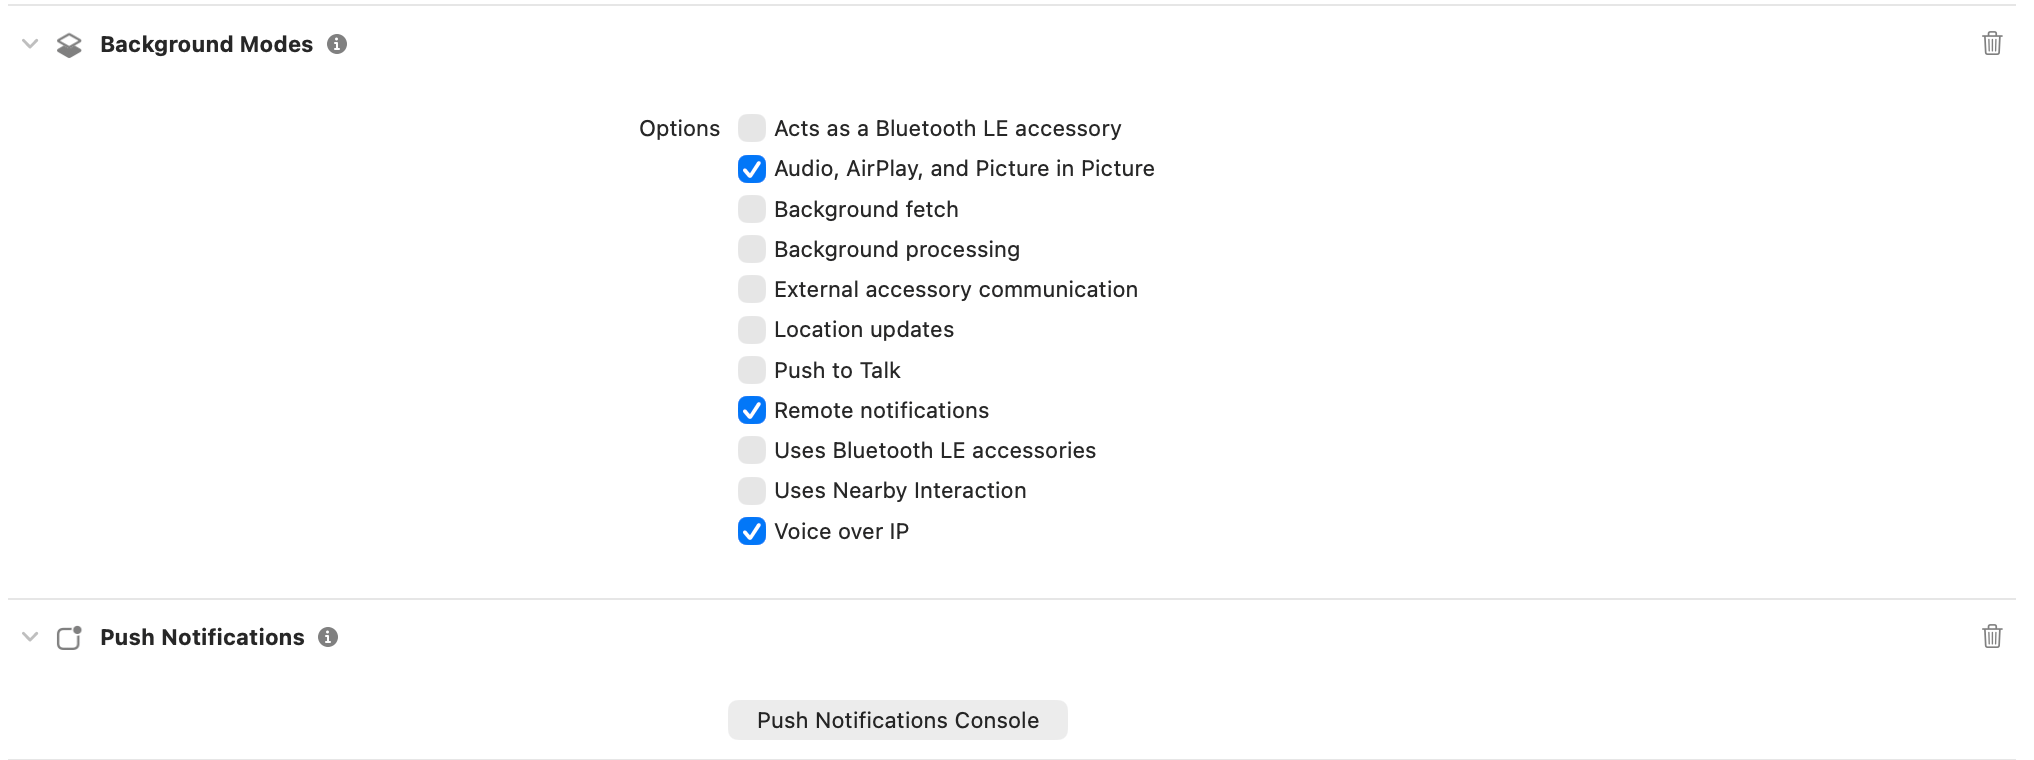
.p8) — in the Apple Developer Member Center → Certificates, Identifiers & Profiles → Keys, click +, enable Apple Push Notification service (APNs), register, and download the.p8. Note the Key ID, Team ID, and your Bundle ID — you’ll upload these to the CometChat APNs provider(s) in the dashboard step above. - Capabilities — in Xcode, enable Push Notifications and Background Modes → Remote notifications (add Voice over IP as well if you support calls). Add microphone/camera usage strings to
Info.plistfor CallKit.
Choose your platform
After completing the setup above, follow the guide for your platform to wire the client, register tokens after login, and handle taps/calls/badges.
Android
UI Kit implementation

iOS
UI Kit implementation

Flutter
Android + iOS

React Native (Android)
UI Kit implementation
React Native (iOS)
UI Kit implementation
Web
UI Kit implementation